|
My first beauty box. I am pretty amazed by the value they put in the box. I did a full face makeup by using boxycharm products. golden glitter makeup 2018. I also invented my own LED LIGHT UP CROWN. Dont be jealous.
0 Comments
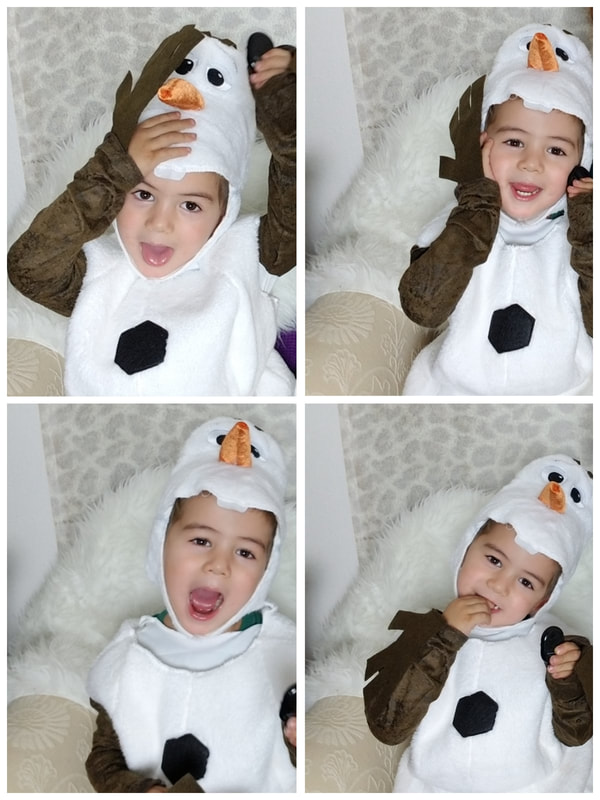
What is the power of makeup? Disney characters makeup or cosplay have always been popular. I have seen lots of makeup transformation, which is amazingly good. But after I did frozen Anna makeup tutorial, I learned something new thanks to the olaf in real life. Something more powerful than transformation of the appearance. Here is what I did for frozen anna look makeup 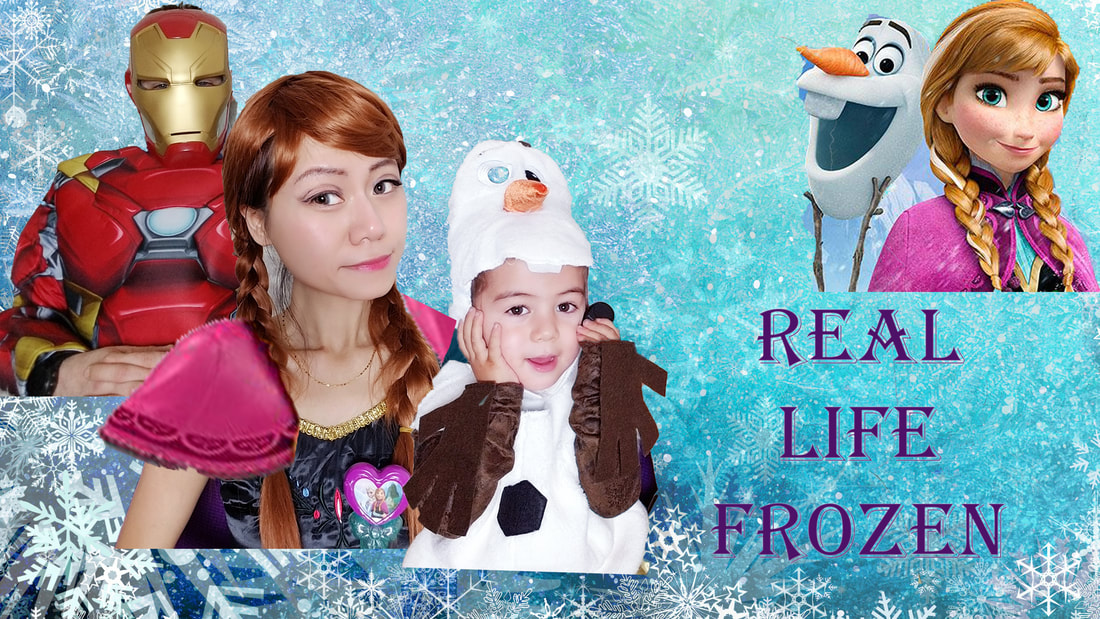 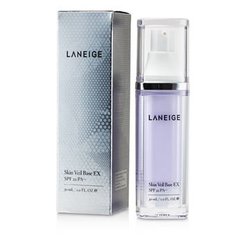 LANEIGE PURPLE BASE PRIMER LANEIGE PURPLE BASE PRIMER 1. Applying primer( LANEIGE PURPLE BASE) Korean primers are always lightweighted and the coverage is pretty decent. A little goes long way. One layer can cover almost everything. Purple color helps brighten the skin. And this bottle has a lavender scent. How to: applying the primer with finger tips really helps work the product into your skin. 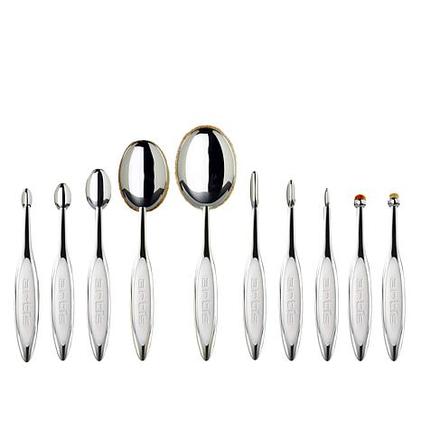 Artis Elite 10 piece brush set Artis Elite 10 piece brush set 2. Applying FOUNDATION To have a flawless skin, you need the right choice of foundation. What's more important is the right tool and correct way of applying foundation. I recently bought those powerful brush sets. I am in love. I always love those kinds of brushes. This new technology engineered cosmetic brushes are made specifically to cover all the areas of your face, lip brush, eye brow brush, can it get better? 3. Drawing Frozen anna Eyebrows Anna and Elsa look so much alike. But one thing that can tell them apart is the eyebrows. Anna has this cute speaking eyebrows. They are long and taller. so i am going to start my eyebrow higher than normal. 4. Anna Eye Makeup Since Anna's eye look more natural than Elsa, I use shimmery pink as my main color. Then I use a dark brown eyeshadow color to draw the crease to make my eyes look bigger and more cartoon alike. For eyeliners, I make it thicker since anna has this big pair of doll eyes. I also use black eyeliner to apply it halfway down my lower lashline to enlarge the size of my eyes. Adding fake eyelashes always help open up eyes. And this time, I even bought a couple pairs of green contact lenses. Another lesson learned, for brown eyes, you need darker green. The color i got is too light to cover brown eyes . 5. Contour. Anna has this cute button nose, so I use highlighter to make my nose tall and conture to make it shorter. 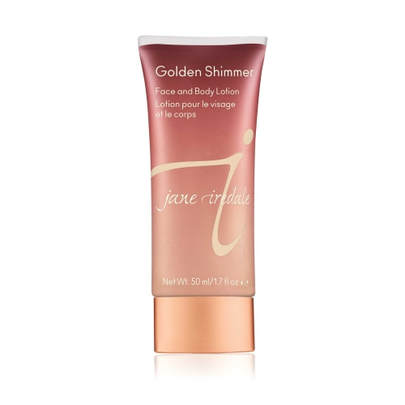 6. Cheeks For the cheeks, I did something different this time. Instead of using my normal blush dough, I choose lip gloss. I want to give the cheeks more vibrant and pigmented color. To be honest, it is very time consuming if you choose this way. I also apply some on the tip of my nose. Because it is FROZEN. I recently bought this golden shimmer Jane Iredale face and body lotion. You can use it as a highlighter. dab a little bit over foundation and it gives you a goldenish glow. 7. Cute Freckles I use a brown eyebrow pencil, push and twist to create anna's adorable freckles 8. Lips Finally, we move on the lips. Finally, there is someone who also has thin lips. After using the lip concealer, I use the lip brush to apply only the inner lips. Using my finger tips to gently smudge it to give it more natural look. The lipstick I use is Estee Lauder lots of people have been asking me the color number. Here is my complete Anna look. And of course where is my Olaf. My 3 year old s a natural on camera. He loves Olaf and Anna. My phones have hundreds of his selfies. Without teaching him what to say, he said "Hi, I am Olaf. "And he gave me a warm hug. just like the movie scene. No joking. I am not sure this is a coincidence or he purposely learned. if so, I am amazed by his ability to learn. He is a ham in camera. He can watch his own videos 24/7 and tell himself he is so funny. Seeing him so happy makes me realize the power of makeup or cosplay is more than just a competition or appearance transformation, it is to make people you care happy. To watch the complete video, please go to my youtube channel ((Thanks to our technology, full coverage foundation does not necessarily give you that cakey face anymore. To the contrary, the ingredient added makes the foundation part of our skincare routine. With correct tools and ways to apply, we can achieve flawless young look in no time. Light-weighted foundation doesnt necessarily mean you wont get full coverage. luckily, there are so many products that are available. I am going to list my top 5 lists best full coverage and hydrating foundation to make you look younger. (I have tried all of them) 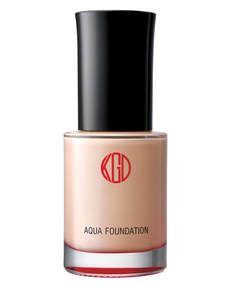 click for more info click for more info 1. Koh Gen Do MAIFANSHI AQUA This gorgeous bottle is packed with T3 oil and minerals from deep water, which brighten your skin and minimize pores. One of the best anti-aging foundation. PERFECT FOR SENSITIVE AND DRY SKIN Finish: dewy. It is perfect for summer or if you want to have no makeup makeup look. 2. Sulwhasoo perfecting cushion foundation 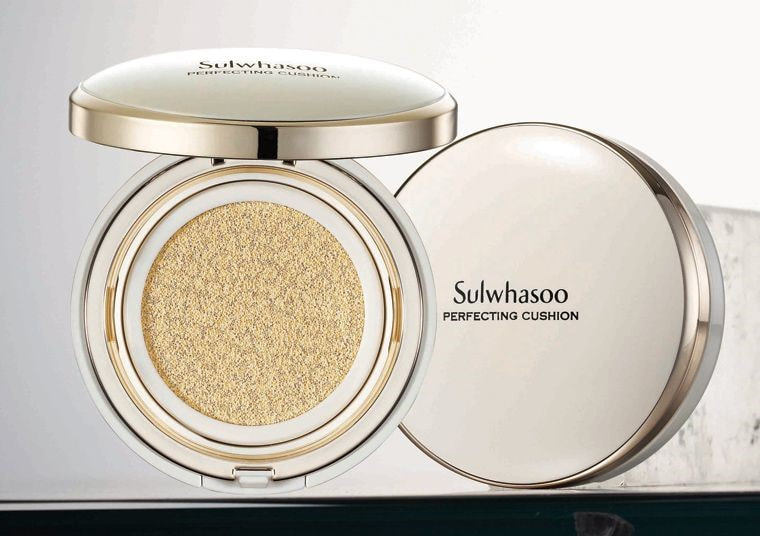 click for more info One of my all time favorites. Full coverage, 12 hours long lasting, giving you a radiant flawless look. I love cushion foundations. They are easy to apply, light weighted, yet give you the full coverage. The technology invented for the cushion is amazing. a little goes a long way. The only drawback when it comes to korean foundation is that the shades are limited. My way to get around it is that If I happen to pick a lighter color, I only put it on the area for highlighting purpose. 3. Clinique beyond perfect foundation plus concealer 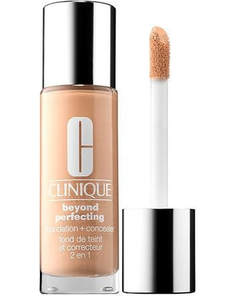 clinique 2 in 1 foundation click for more info This new version of clinique 2 in 1 foundation plus concealer takes the foundation to another whole new level. I rarely use Clinique, but this product definitely worths to be nominated. A little goes a long way. It is perfect if you are going after natural looking makeup. Light weighted and moisturizing, it gives you a full coverage as well! And for the price? definitely should try it out. 4. Dior Totale Capture Foundation 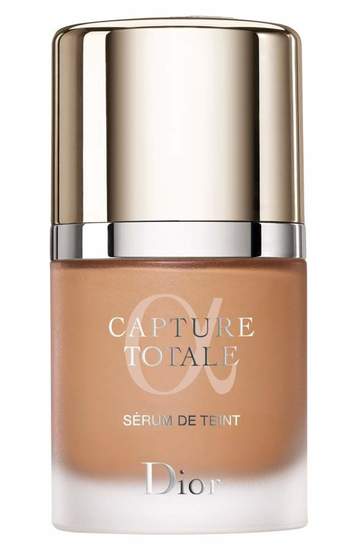 Dior Totale Capture Serum Foundation Buy NOW FOR $64 The new version of Dior capture totale delivers triple effects. The key anti aging ingredient gives you an immediate luminous look. Dior Capture Totale Foundation is a revolutionary serum foundation that offers radiant, high-definition perfection in every dimension. Right now, Jet sells it at $64 while other stores sell it at $84. Hurry while it lasts. 5. Lancome 24 hr Foundation 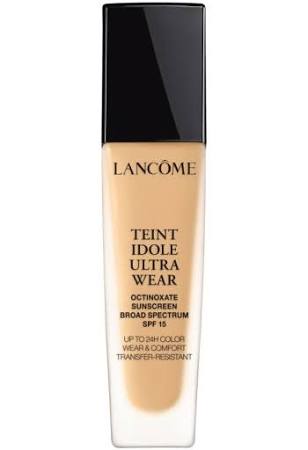 One of the most talked about teint foundation in 2017 is Lancome ultra wear 24 hour foundation. It gives you full coverage without feeling greasy. It also improves the redness, pore problems. Good for all skin types. Oil Free. It is worth the try.
There are so many onnline vidoes showing you how to cut your fringe/bangs at home korean style. I noticed most of them dont really explain why, not to mention explaining the different length for different face types. I am not professional, but in my videos, I like to explain why. Each person is unique, same hair style won't look good on everyone. Same as products review, the buyer doesnt just want to know about the product, they care more about if it is going to work for themselves. Here are my 2 cents thoughts. My way of cutting my own blunt bangs is rather easy. step 1. Section the hair Everyone talks about the triangle shape, which is what you are supposed to do. COMMON MISTAKES: But I noticed most people only pull the front part of hair near the hairline. Doing so will give you a whispy bangs. If you have fine hairs, you really want to pull more hairs from back. The thicker you want your bangs to be, the further of hair you should pull. Speaking of the triangle, the sides frame your face. If the top of your head if wide like mine, your want your triangle look narrow instead of wide. Just imagining after you finish cutting, the narrow the triangle is, the less volume hair on the sides is. step 2. Cut and trim I put 2 steps together as the first step only takes one second. Instead of holding a fine comb in one hand, what I do is hold my bangs with a large hair clip. Twist the bangs twice and clip. Then cut. Twisting is so the bangs won't be all the way straight across, which gives the sides a nice angle. This is especially important for square face. Hold the shear vertically and soften the edge. COMMON MISTAKES: Holding shear horizontally. Step 3. Using Hair Straightener to curve the bangs like koreans Since my hair is too thick and hard, it falls right in front of my eyes. looking from the side, my forehead is flat. So to add some volume to my bangs, I use panasonic 2 way hair straightener to curve the bangs. The size is perfect to style my bangs. and it won't damage your hair! 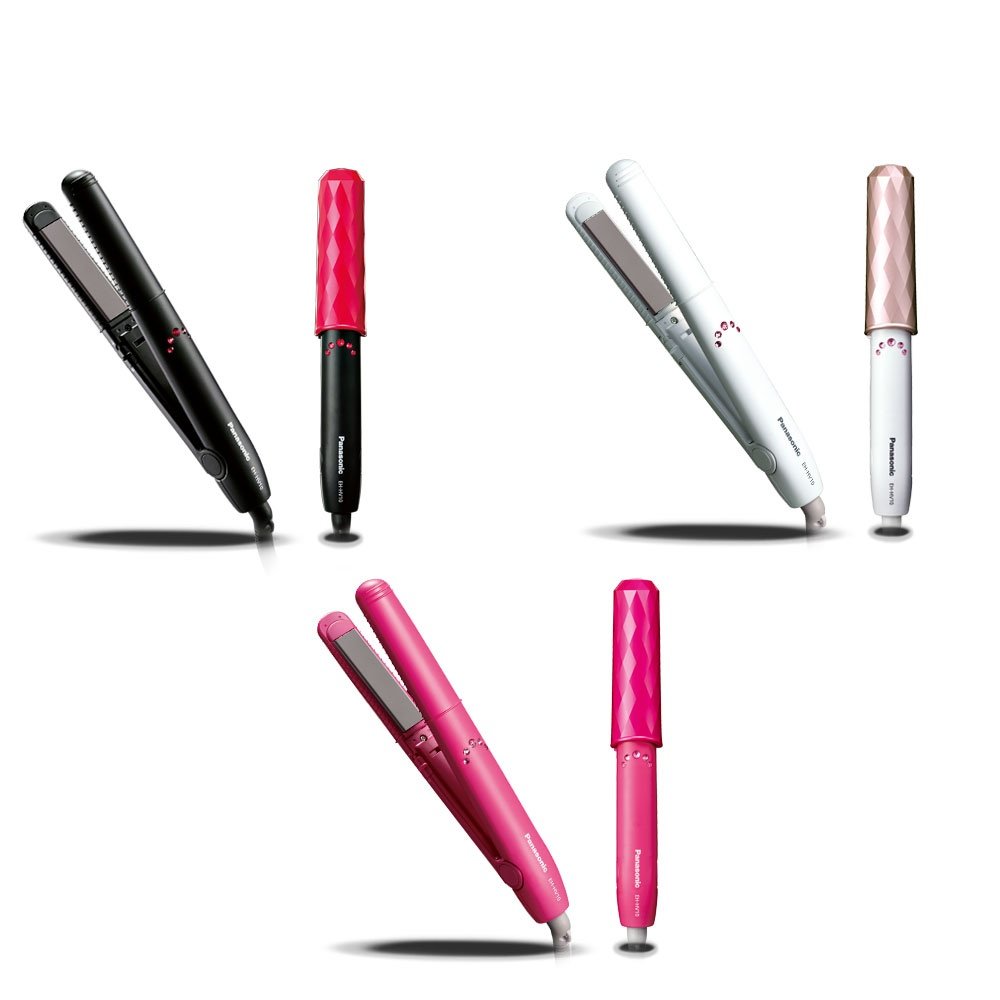 You can also watch my youtube video for the whole tutorial : https://youtu.be/3DVhoF08-1o
In my articles, I am going to simplify the steps of Japanese skin care routine and share some skincare hacks that most people don't want you to know. If you ever wondered why asians put so much value on skin care routine, maybe you should hear my story first. The same morning a year ago, I would rush to get everything done in 5 minutes after getting up, and drive to work. No complete skincare routine, not to mention makeup. Until one night, I had a moms night out. Those friends I just made asked me if I hade a make over done at somewhere. I laughed, but I talked to my self “I have always known how to put make up on, probably way longer than you guys are.” I started doing makeup when I was 12. Since school doesn’t allow us to put makeup on, I was trying to do the “no makeup makeup” lol, and have a line of friends who wanted to learn. I was one of those girls who would hide a stack of makeups in my closet and took them to school to try out different makeup look. But for the past 6 years, I was always stressed out. I don’t put makeup on anymore. I gained weight dramatically. I was trying to do everything right, I was always hurrying, until I had my gallbladder removed due to the hormone change and stress. I know it is time to change. I quit my job, which is very hard for me. I tried meditation, but it is hard for me to sit still for 10 mins only counting breaths. I finally have some time not to rush to do my skin care routine. By applying skincare products and makeup slowly, I started to notice the change on my skin everyday. By trying different eyeshadow colors on my face, I started noticed a different side of me. I fell in love with this morning skincare/makeup routine. And it is a perfect meditation for me because it allows me to think of nothing but pay attention to myself. Outer beauty is a reflection of inner beauty. To take care of ourselves, we have to take care of our skin. Why rush? I enjoy every little detail of my new skincare routine. Each step, I feel the difference on my skin and get to know myself more. And I think that is part of the reason Japanese culture puts so much value on skin care. People seem to be confused with numerous products on Asian’s skincare products and complicated procedures. I am going to explain why in my article. When it comes to anti aging products, moisturizer, you have to take consideration of so any factors such as climate, your skin type, season change and so on. Luckily, there are so many high quality brands that wont break your bank. The followings products mentioned are my favorites and are included in my daily routine. 1. CLEANING First, I use DHC cleaning oil to make sure there is no makeup residue left. That way, my skin can absorb the the nutrition I am going to put on 100%. This product is one of the best sellers anywhere. Infused with olive oil and vitamin E, it nourishes and hydrates the skin. Then, pat dry with a clean towl. 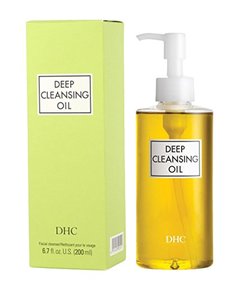 normally, japanese is known for their double cleaning method, which normally happen in the evening. So in the morning, most people just gently use water and pat the face. 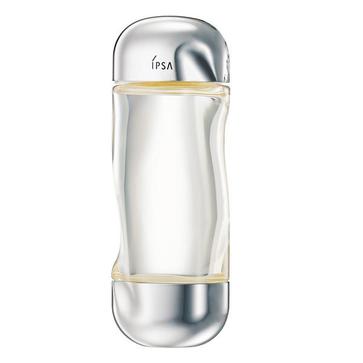 2. LOTION/SKIN SOFTENER Some people mistaken lotion to moisturizer. I noticed most Americans don’t have this step. But lotion is essential to Asians. They have more watery look. It is used to restore moisture, soften your skin for the products that followed by. In winter, I would put both lotion and moisturizer on, but in summer, I would leave this step out. I normally apply it on the cotton sheet and leave on my face for about 10 seconds or just use my hand to pat on my face. you want to leave them on. This is similar to american toner. Now most toners contain antioxidants or other beneficial additives. The most popular one right now is this beauty: IPSA TIME RESET. An alcohol-free, medicated toner that creates an artificial skin barrier on the skin surface to prevent moisture evaporation and increase moisture deep inside the skin. 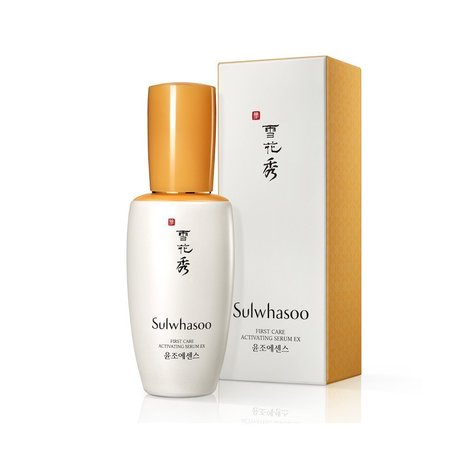 3. ESSENSE / SERUM I know people are so confused about the essense. Well, basically they are the same thing nowadays. A long time ago, essense in Asia was used as another layer for hydration. Just like serum, they both are concentrate of ingredients that target specific skin concerns like wrinkles, fine lines and uneven skin. Now, serums are getting more lightweight and essences are getting thicker, and they both can contain high concentrations of active ingredients. One of my all time favorite is SULWHASOO Essential Revitalizing Serum Ex 60ml. Sulwhasoo is premium line in korea. Sulwhasoo’s signature First Care Activating Serum EX has been improved to better optimize the results of your skincare regimen for youthful, resilient skin. 4. MOISTURIZER Finally, it is something we are familiar with. Moisturizer is such a general term. It is used to lock down everything we put before this. It is like a barrier. With season changes, the moisturizer type may need to be changed too, especially in winter, we need stronger moisturizer to protect us from the climate. If you have sensitive skin, you may choose Vaseline instead of lotion or cream, as some lotions have active ingredients that may irritate your skin. 5. UV PROTECTION One of the things that most people ignore. Also, UV radiation that is the most common cause of premature ageing. Japanese put sunscreen on everyday no matter what.
Last week, I bought this cutie: panasonic 2 way curl & straight hair straightener. The review is great. The reason why I got it is because this one is supposed to protect your hair from further damaging instead of giving your hair a frizzy look. I am tired of using a curler or straightener that i can see the steam out of my hair while i was styling it. I did a full unboxing and review on this one on my youtube. It is rather easy and very convenient. Since it is compact, I can take it anywhere. The temperature is never go over 210 so I dont need to worry about burning my hands. And the price is not expensive at all. I love japanese products as most of their products have conditioning function. Get this cutie at: bit.ly/2D2R7Om When it comes to eyebrows, the “one size fits all” rule just doesn’t work. It is such a subject topic. That is also why people still talk about the best way to shaping the most flattering eyebrows. I am going to show you my unique way of shaping eyebrow without using the ruler or measurement. If you followed all those rules about proportion and think your eyebrows still look weird, or you ever wondered why the most popular Korean eyebrow looks so much different than the look in America, you should definitely keep reading. First, let me explain why korean the flat eyebrow was so popular. Is is just because the culture difference? Yes, a flat and almost cartoon look gives a youth and innocent look. But there is reason deeper than that. The sculptures are different. Asian people tend to have flatter brow ridge, so a flat eyebrow can accentuate it. while Caucasians have more prominent brow ridge, so it is normal to have the arch located on the eyebrow bone. 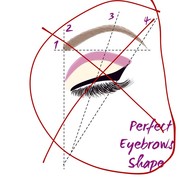 I have been asked a lot about how I shaped my brows. they are actually my natural eyebrow. Well I should say were. 2 weeks ago, I trimmed it. So now shaping eyebrow becomes one of my daily routines, I come up with this easy and different method. and this is what my channel is about. Finding the most convenient way to incorporate trends to your personal style. If you are new here, consider subscribe. Each individual is unique. That’s why my videos are more about different types. First, lets talk about the face type 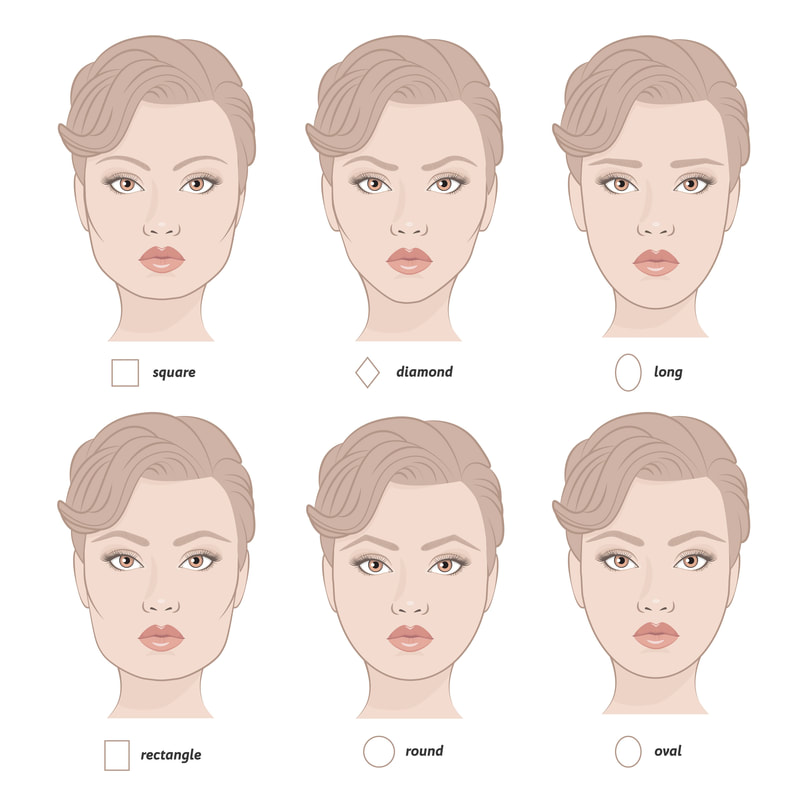  If you have square face, which means your forehead, cheekbones and jawline are all the same width. Balance it with a strong brow or soften it with curves.  If you have a round face, which means your cheek is wide, you might want to go for a high arched brow to make your face look longer. It is all about balance. 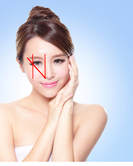 Long face, which means the width of your face is less than 2/3 of your face length. You should use a short flat eyebrow, which helps create illusion of shorter face. 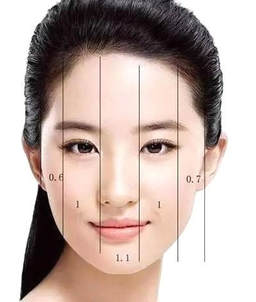 You probably wonder how I decided where the 3 dots should be. For the starting point, I didn’t use the normal rule. That’s the common mistakes I have seen lots of people doing. This rule only works for certain people. It doesn’t work for people who are naturally born with eyes closer or wider than other people. So the best way I find is the distance between two eyebrows should be the same length of your eye.
For the arch point, is also depends on the face type. Since I want my eyebrow long enough to cover the jaw, the arch should be located in the middle of outer rim of my iris and edge of my eye. As far as the end point, if you wear it for daily work or just hang out with friends, you can use the rule which is Follow a straight line up from the corner of your nose to the outer edge of your eye. But If you are taking a photo shot, a longer brow end will make you gorgeous. How many time when you take a selfie, you wonder where my eyebrow goes. 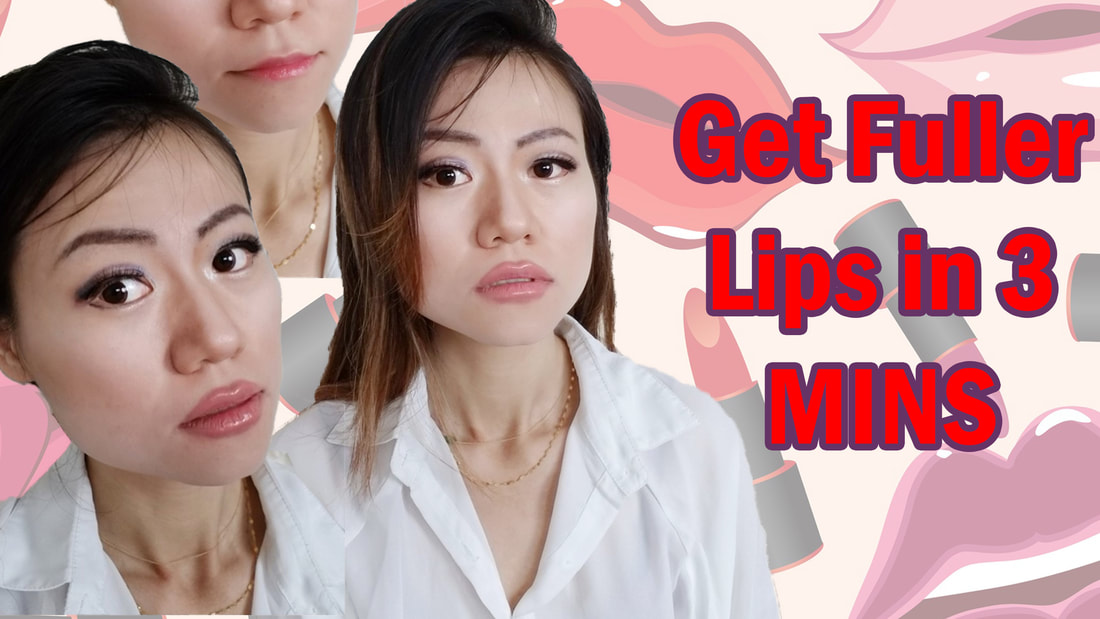
While I don't mind my thin lips, I just want to know how i look with big lips. Since I plan to do an Angelina Jolie Transformation makeup, I got some nude lipsticks and lip liners. I heard does of color matte lipstick does wonderful job, so here it is.
I have watched plenty of videos about how to plump your lips. So I am pretty confident about the steps, but not really confident about my one and only lip shape. The lip liner and lip stick are exactly the same color.
To create a fuller lip illusion, the lipstick has to be matte. you want it to stay and not transfer color. This lipstick dries pretty quickly and super matte. The lip liner is from Lancome. It is matte and also helps moisturize.
1. Conceal Ever since I started using lip concealer, I would never go back to regular concealer again. They are just so convenient. My lips tend to dry easily, so every product that is related to my lips has to have moisturizer function. 2. To redraw the shape of my lips, I use lip liner. Since I want a dramatic look, I really have to just try it out . It looks pretty weird at first, but once I filled the gap in with lip liner, it looks ok. 3. I used the lipstick and dap it evenly with my finger tip. I really like this mauve color. And the way it looks. 4. Lip Couture. To make my lip look fuller, I used the lip liner and added some dark shade red in the middle of my lips to create a fuller look. 5. Mother Pucker Extreme Plump. Since my husband insists, I used this clear gloss. I was afraid it will ruin the matte finish. So I only apply it on the cupid cube area. It almost immediately plumped, and gave you this tingling feeling. To watch details, you can watch my video on yoube youtu.be/Mm9YExMdTAg
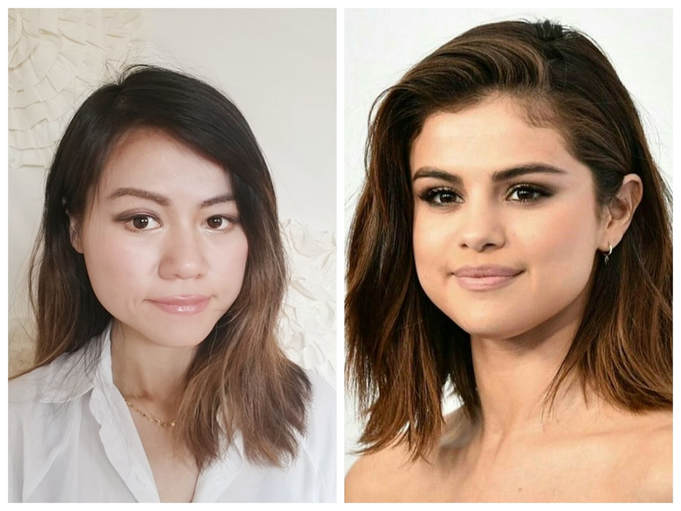 click to watch my youtube video click to watch my youtube video I really like the way how Selena Gomez changed her hair style and the lighter makeup makes her brown eyes pop. So today I am going to do a recent selena gomez inspired hair and face makeup tutorial 2017. I am not sure how this will end since selena looks nothing like me. lol Lets start. To have a natural fresh look, I chose the new versions of laneige purple highlight primer. I heard a lot of good things about it. It is super light weighted and has a fruity scent. A little bit goes a long way. CLICK THE IMAGE TO SEE DETAILS 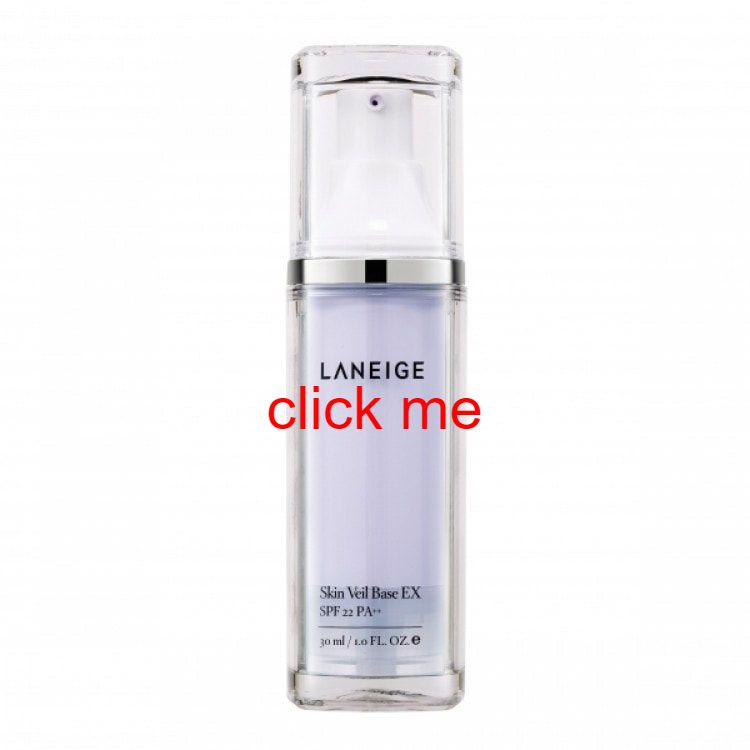 For the eyebrows, selena has a really long and strong natural look eye brow . I put the front a lot lower than usual like how selena does. I also blend a darker brown into the crease to create a deep set eyes take the brown eyeshadow I am using and apply on the bottom lash line using flat brush highlighter to illuminate the front corner of my eyes. The hair. The curler I used protect your hair from further damaging. It was said that the japanese celebrities love it and it is cheap. 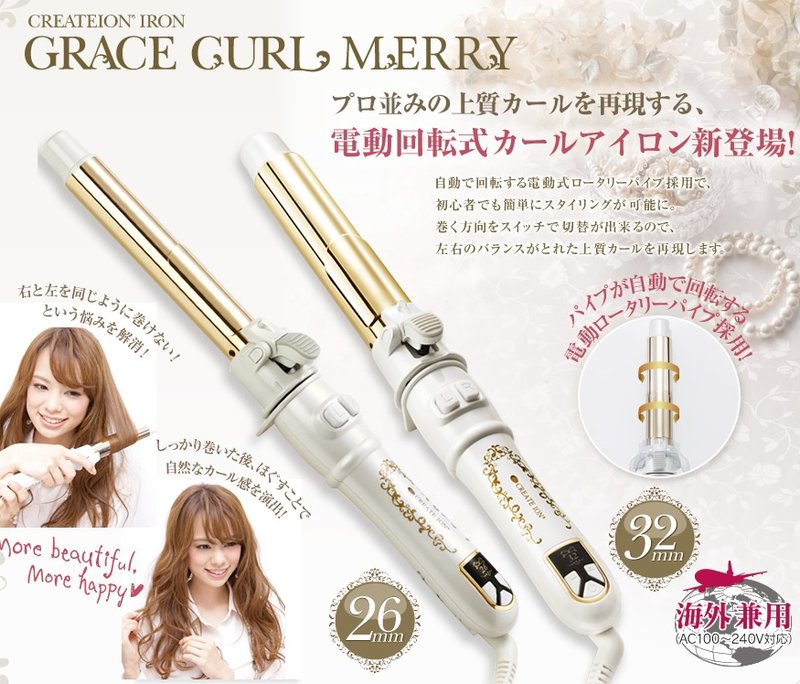 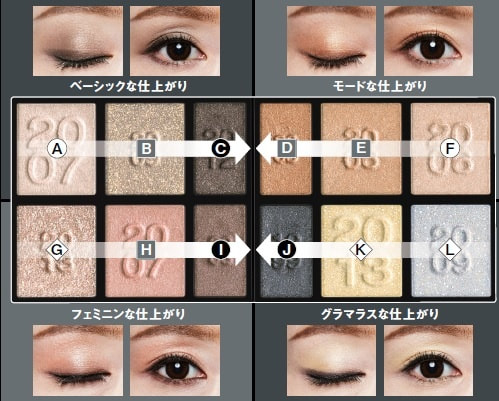 2017 anniversary limited edition gorgeous 2017 anniversary limited edition gorgeous I have always had trouble finding the perfect eyeshadow pallet that work for me. As an Asian myself, I find that it is difficult to wear highly pigmented shadows on my eyes. Especially light colors. Besides, i use double lid eye glue, which makes it impossible to have perfect and clean eye look. I recently heard a lot good things about this brand Kanebo Kate. What interests me most is the technology behind it. It is supposed to help you achieve deep set eyes without looking too heavy. It is a perfect no makeup make up. I recently bought this new version called Kate brown shade eye N - the evolution of frame create eye shadow. The new one adds the bronzer, which helps create a conture look of the eye. It is pretty. shimmery and high quality. on the packaging, it shows you how to use it. who doesn't like instructions. So it is perfect for beginners. The one I got is called Sephie, pinkish brown. It is supposed to create beautiful gradient color. We will see. you can also visit my youtube to see the whole tutorial. 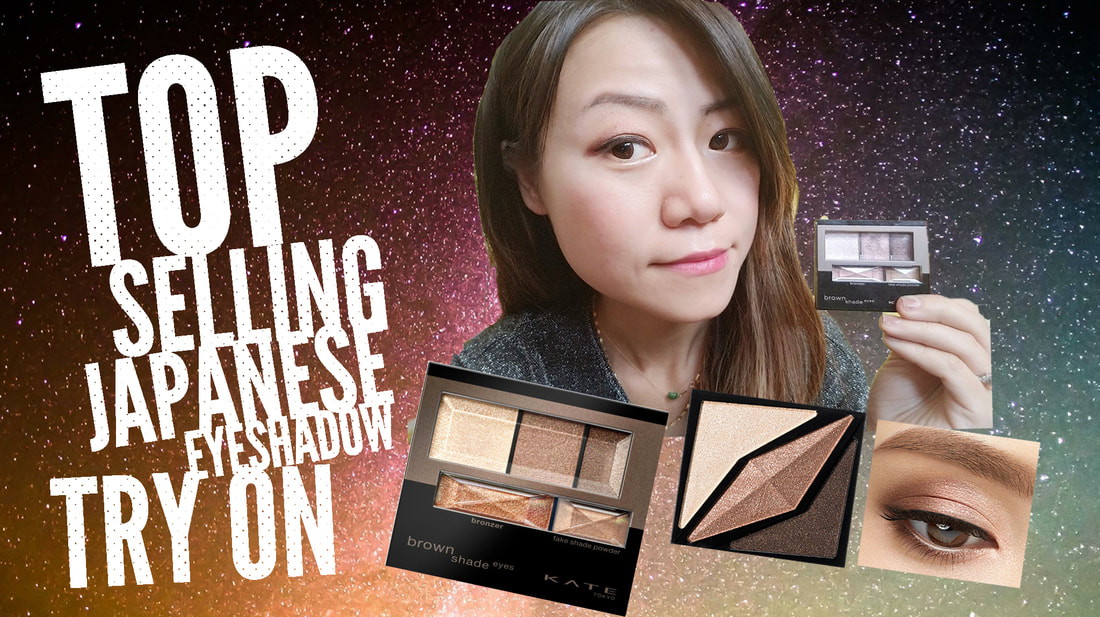 |
authorThe beauty of nature gives me inspiration s to think and write.  |


 RSS Feed